
Nothing says Halloween quite like taking a massive rip from a pumpkin bong dressed as Maddie from Euphoria. Pumpkin bongs are a huge hit at every Halloween party and will also put you in the ghoulish spirit during a solo smoking session on your couch. Either way, be sure to pick up an extra gourd this year at the pumpkin patch to carve your very own pumpkin bong. It’s actually simple and will take a lot less time and energy than decorating the house. This quick guide will show you how to make a pumpkin bong step by step and even suggest a few pumpkin recipes to try, so save those innards!
Do you need a special kind of pumpkin?
You don’t need a special type of pumpkin to create a pipe or water bong, but you should try to look for one that’s taller rather than round. Skip the perfectly symmetrical Halloween pumpkins since they won’t have a lot of vertical space to work with. Imagine a water bong in your mind and where the bowl and mouthpiece will need to go. Remember that the downstem that’s connected to the bong bowl will need to have one end touching the water at the bottom of the pumpkin, so imagine the water level as well. There still needs to be room for the smoke to accumulate! When at the pumpkin patch, also keep in mind that you want a medium sized pumpkin, not one that’s too big and heavy since it will be a headache to move around or hold when taking a rip. Too small and you won’t have enough space for all of the elements as well as the water. If you end up with a pumpkin that’s too tiny, don’t worry. You can always change it up and create a pumpkin pipe instead!
Do you put water in a pumpkin bong?
In order to truly be a bong, you’ll need to add water. But if you don’t have water handy or feel like it will make a mess, you can leave it out and it’ll become a dry pipe. The steps to create the pumpkin bong will be exactly the same, just don’t add water. If you’re wondering why water is so important, the answer is simple; smoother, more comfortable hits. Water bongs are able to filter, aerate, and cool down the smoke all because of the power of water. Hot smoke is drawn down from the bowl and forced through the downstem into the water, creating lots of bubbles that remove large contaminants like pieces of ash and has a chance to get chilled before reaching your lips. This takes away a lot of the harshness of each bong rip, so instead of having a coughing fit, you’ll be able to take much bigger rips. Adding water to your pumpkin bong is really up to your personal preference.
How do you carve a pumpkin for smoking?
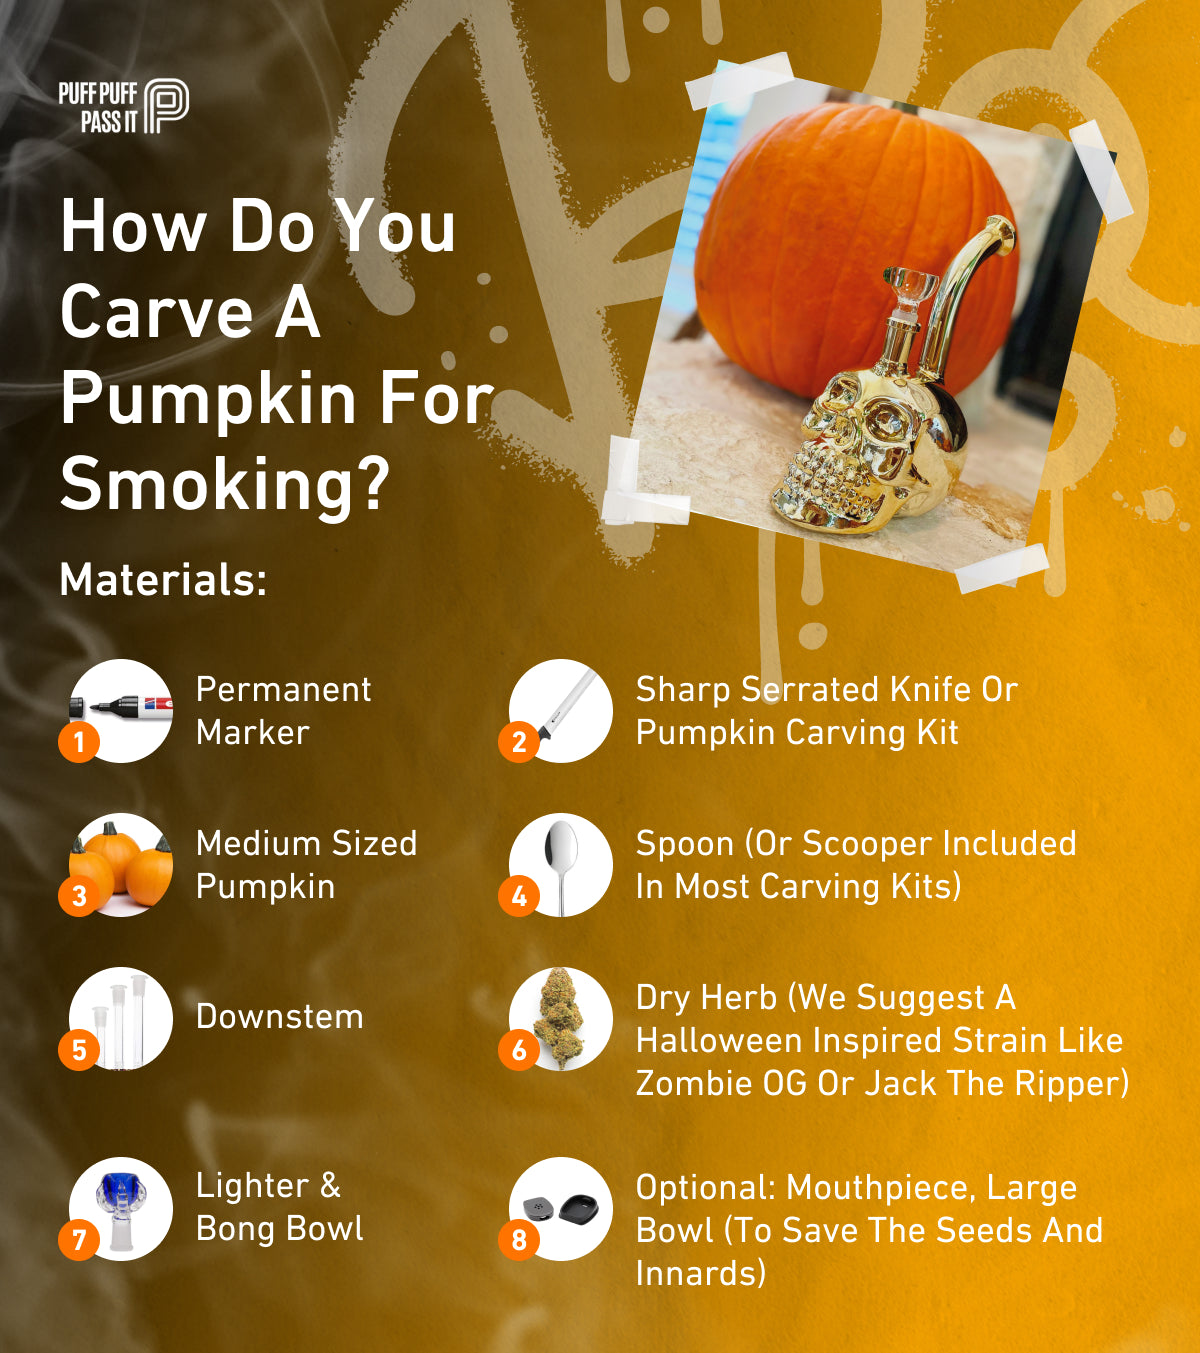
If you’ve ever carved a Halloween pumpkin, you’ll be excited to know that making a pumpkin bong is a lot easier than cutting out a cool cannabis pumpkin carving or basic smiley face design. Ready to put your carving skills to use? Collect the following materials to get started and follow our step-by-step guide on how to make a pumpkin bong.
Materials
- Permanent marker
- Sharp serrated knife or pumpkin carving kit
- Medium sized pumpkin
- Downstem
- Bong bowl
- Spoon (or scooper included in most carving kits)
- Lighter
- Water
- Dry herb (we suggest a Halloween inspired strain like Zombie OG or Jack the Ripper)
- Optional: mouthpiece, large bowl (to save the seeds and innards)
How to make a pumpkin bong step by step
There are several ways to make a pumpkin bong, the easiest is to place a normal glass bong you already have inside the pumpkin and try to line up the holes for the bowl and mouthpiece, but that’s not a true pumpkin bong now is it? Follow these steps and you’ll have an easy DIY pumpkin bong that you’ll want to show off at your Halloween party.
- Open up the pumpkin - Just like the start of every good pumpkin carving, you need to start by cutting around the stem to open up the top for easy access to the inside. Using a sharp knife or the saw from the carving kit, cut the opening at an angle so there’s a good seal and no smoke will escape. It’s essential that there are no gaps or holes in the top.
- Scoop out the innards - Some people actually like to leave the stringy parts and seeds for some added pumpkin flavor and more diffusion of the smoke, however be sure to check for bugs if you choose to leave them. If not, scoop out the innards and seeds but don’t make it as clean as you would with a normal Jack o’ Lantern. You don’t want the inside chamber to get too large that it begins to affect the draw of the bong. Save the seeds and stringy parts in a bowl. You can always bake them and eat the seeds or plant it in the garden for next year’s pumpkin bongs.
- Add the downstem - Now for the tricky part, see how the downstem will fit and where the hole should be made. Remember that the downstem needs to be at an angle so that one end is in the water but not touching the bottom of the pumpkin and the other end is easily accessible to light and at an angle where the bong bowl and its contents are supported and won’t fall. Mark where the hole should be with the permanent marker and make a very small cut at a downward angle. Start small since you can always make the hole bigger. The downstem will probably get filled with pumpkin guts, so check to be sure that it’s clear before you use it!
- Add the mouthpiece - There are tons of options for mouthpieces or you don’t even have to use one at all and just take rips from a hole. Some mouthpiece ideas include a large boba straw, metal reusable straw, a removable mouthpiece from another bong, or a short piece of PVC pipe. Using a permanent marker, decide where you want the mouthpiece to be and measure its diameter for a tight seal. The hole should be placed on the opposite side of the downstem near the top of the pumpkin far enough away from the cut for the stem. Be sure that the mouthpiece you use doesn’t get too close to the water.
- Give it a test run - That’s it! Fill the pumpkin bong with water just until the base of the downstem is covered, replace the top, pack a bowl, and light up! You can also hit it dry if you prefer, but the water makes for a smoother experience.
How do you smoke out of a pumpkin pipe?
Despite their crazy looks, pumpkin bongs and pipes function just like regular glass pipes or water bongs. The pumpkin itself acts as the main chamber where water is held and where smoke accumulates. To use pumpkin bongs, simply light the weed-filled bowl and inhale slowly through the mouthpiece. You should hear the water bubbling just like a normal glass bong. Once the gourd is filled with smoke (you’ll have to estimate since you won’t be able to see inside), clear the pumpkin bong by removing the bowl and taking a rip on the mouthpiece. It’s that easy!
Smoking from a pumpkin pipe is very similar, though you’ll probably be using a smaller pumpkin. Pumpkin pipes and other fruit and vegetable pipes don’t require any other pieces besides your carving skills. There should be a carved out bowl that has a hole at the bottom leading to the inside chamber and two holes, one that acts as the mouthpiece and the other for a carb. The carb on all smoking pipes allows you to control the airflow inside the pipe and clear it quickly. To take a hit, cover the carb with your finger and light the ground dry herb in the bowl while simultaneously inhaling through the mouthpiece hole. Stop lighting the flower and remove your finger from the carb to open up the airway and quickly clear the pumpkin pipe with a swift inhale.
How does smoke come out of pumpkin?
No, it’s not dry ice making that spooky pumpkin come to life, he’s just blazed and still puffing on some dank herb. In order for pumpkin bongs to work properly, the inside of the gourd needs to be airtight. There shouldn’t be any holes or gaps around the bong bowl, where the top stem cut was made, or around the neck and mouthpiece. In other words, your pumpkin shouldn’t be smoking on its own and all of the smoke should be going into your mouth, not leaking out of the pumpkin. If you find any areas where smoke is escaping, you can cover it up with foil or playdough to create better airflow and hits.
What to do with pumpkin leftovers
There’s so many things you can do with pumpkin leftovers and let’s be honest, your pumpkin bongs aren’t going to last very long anyway, so you might as well turn them into a tasty treat after having some fun. This weed-infused pumpkin brownie recipe will be your absolute favorite and will get you dancing with the demons really quick.
Ingredients:
- Boxed brownie mix
- ¼ cup water
- ⅓ cup cannaoil (cannabis-infused oil)
- 1 egg
- 1 cup pumpkin puree (just bake your old pumpkin bong at 400 degrees fahrenheit until soft, around 45 minutes, and blend it up)
- 6 oz cream cheese (¾ block)
- 4 tbsp sugar
- 1 tbsp pumpkin pie spice
Pumpkin pot brownie recipe:
- Preheat the oven according to the instructions on the boxed brownie mix and grease a baking pan.
- Create the brownie batter according to the box, but remember to swap out cannaoil for regular vegetable oil. Check ahead of time to see how potent each brownie will be and if you think your cannaoil is too strong for this recipe, just decrease the quantity of cannabis-infused oil and increase the amount of regular oil used. For example you may want to use Just be sure that it adds up to ⅓ cup.
- In a separate bowl, mix together the other ingredients for the pumpkin swirl.
- Pour the pot brownie mix into the greased pan and swirl in the pumpkin mix.
- Put the pumpkin pot brownies into the oven and add roughly 10 minutes to the cooking time shown on the box. The addition of the pumpkin adds height, which will take additional time to cook.
- Happy All Hallows Eve!
Not feeling like getting your DIY on this Halloween? If you don’t have the energy to carve a pumpkin bong but still want to have some fun, check out our Halloween smoking accessories in the PPPI shop!